Year-end: Closing a Fiscal Year

In the last post we walked through how to run a year end simulation and it’s benefits(Read it here if you missed it). The other option to close a fiscal year is using the Fiscal Year End function.

A year end simulation is noncommittal – it creates no entries, nor does it close the year – allowing entries to still be made. When you are ready to formally close a fiscal year, the process is slightly different.

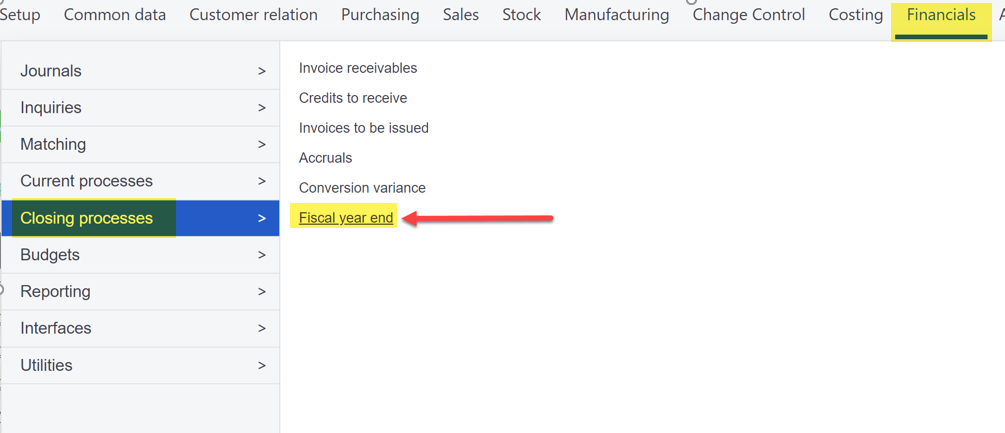
Begin by navigating to Financials > Closing processes > Fiscal Year End

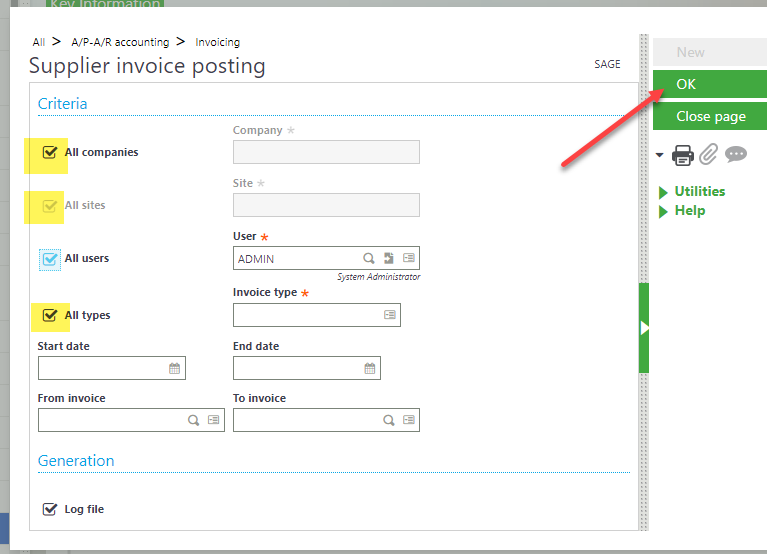
On the following screen, enter the company for which you will be closing the year. Beside it, in the All ledgers column, the default value is yes. Change this to No.

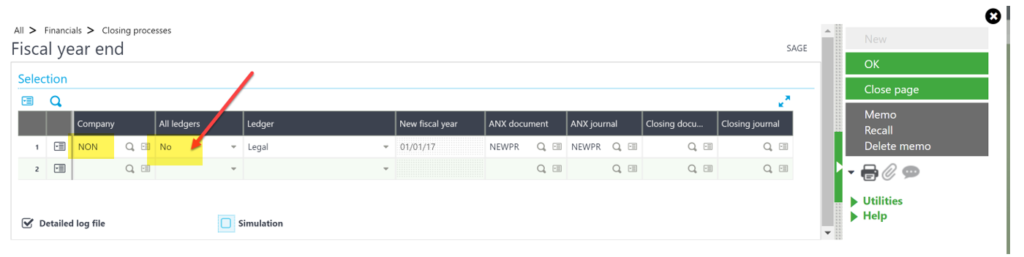
Tab through the remaining fields. The earliest open fiscal year will populate the New Fiscal Year field and not necessarily the current year. ANX document / journal and ledger fields will automatically populate.

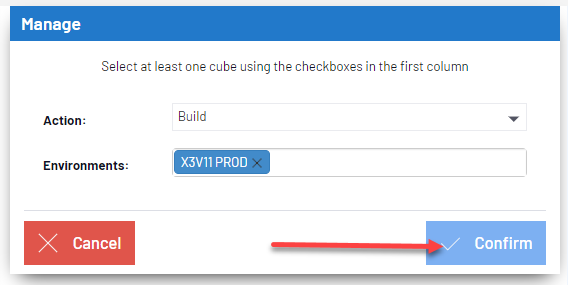
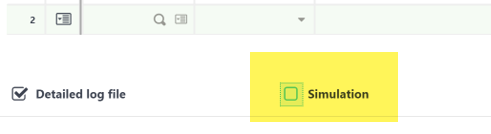
Lastly, make sure the Simulation box is not checked, and press OK from the right hand menu.

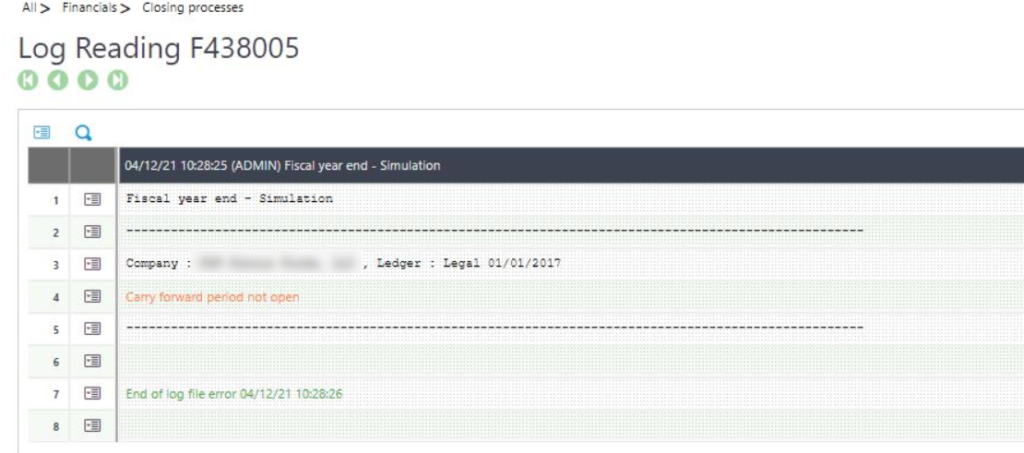
If any errors occur, X3 will produce a log file detailing what needs resolved before the year can be closed. If there are no errors, the file will list all of the entries made and close out the year. Adjustments can no longer be made to this fiscal year.

Example of an error log

Month End- Checks & Validations Pt. 1

With the start of a new month comes the dreaded month end, in which companies close the previous period’s financials. Month end is often stressful, but it need not be so – especially if fiscal periods are regularly closed in X3.  

X3 will not allow a period to be closed if there are non-validated invoices or unposted journal entries. In this mini-series, we’ll go through some of the checks and validations you can do to ensure a smooth closing!

First we’ll take a look at 4 validations you can run in X3 to ensure all of your invoices have been validated.

  1. Sale Invoice Validation
    • Navigate to Sales > Invoices > Invoice/Credit Memo validation (FUNCFMINV)
    • To validate invoices for all companies/ sites check the ‘All companies’ and ‘All sites’ boxes. You may specify if necessary
    • Check the ‘All types’ box
    • Click OK
  2. BP Customer Invoice Validation
    • Navigate to A/P-A/R accounting > Invoicing > Customer BP invoice posting (BPCVAL)
    • To validate invoices for all companies/ site ensure the ‘All Companies’ check box is checked.
    • To validate all types invoices, check the ‘All types’ check box. Otherwise uncheck this box and use the action card to choose an invoice type
    • Click OK
  3. Purchase Invoice Validation
    • Navigate to Purchasing > Invoices > Invoice validation (FUNPIH)
    • To validate invoices for all companies/ sites, ensure the ‘All Companies’ check box is checked
    • To validate all types invoices, check the ‘All types’ check box. Otherwise uncheck this box and use the action card to choose an invoice type
    • Click OK
  4. BP Supplier Invoice Validation
    • Navigate to A/P-A/R accounting > Invoicing > Supplier BP invoice posting (BPSVAL)
    • To validate invoices for all companies/ sites, ensure the ‘All Companies’ check box is checked
    • To validate all types invoices, check the ‘All types’ check box. Otherwise uncheck this box and use the action card to choose an invoice type
    • Click OK

Next week we’ll go through checks you can do to ensure entries have been posted!