How to Re-synchronize Stock

Sometimes stock quantities can get out of sync from reality due to may factors. How will you know that this is your issue? Say you are trying to allocate stock to a sales order or are doing a stock change but the system is warning you that there is no quantity of that item. If you know there should be a quantity available, then your stock may be out of sync.

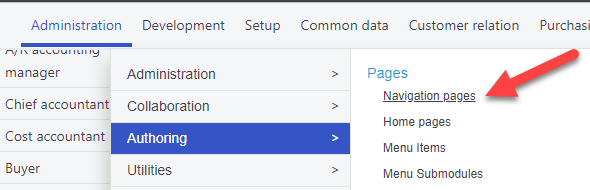
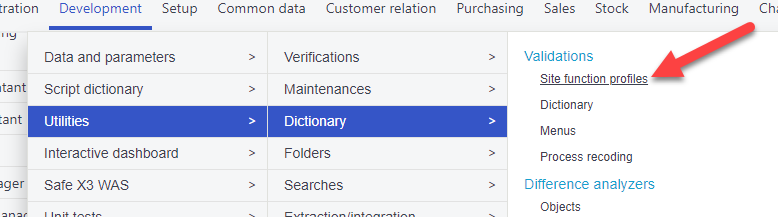
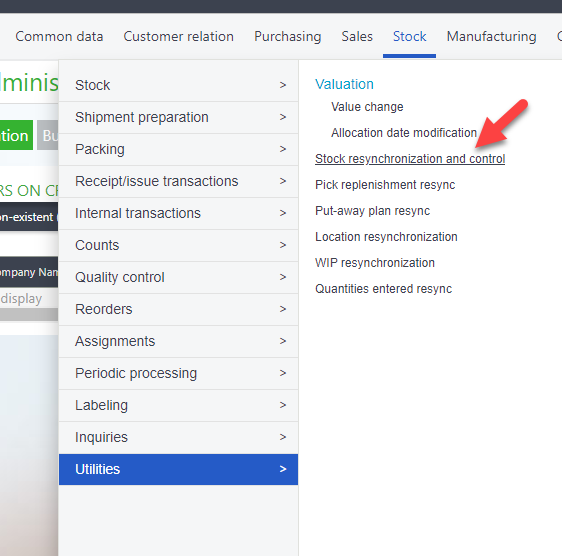
To solve this issue navigate to Stock > Utilities > Stock resynchronization and control

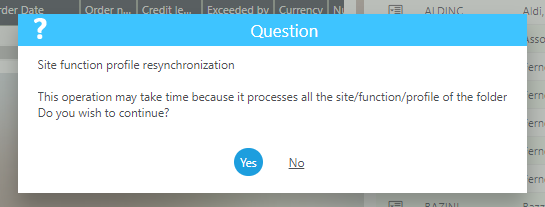
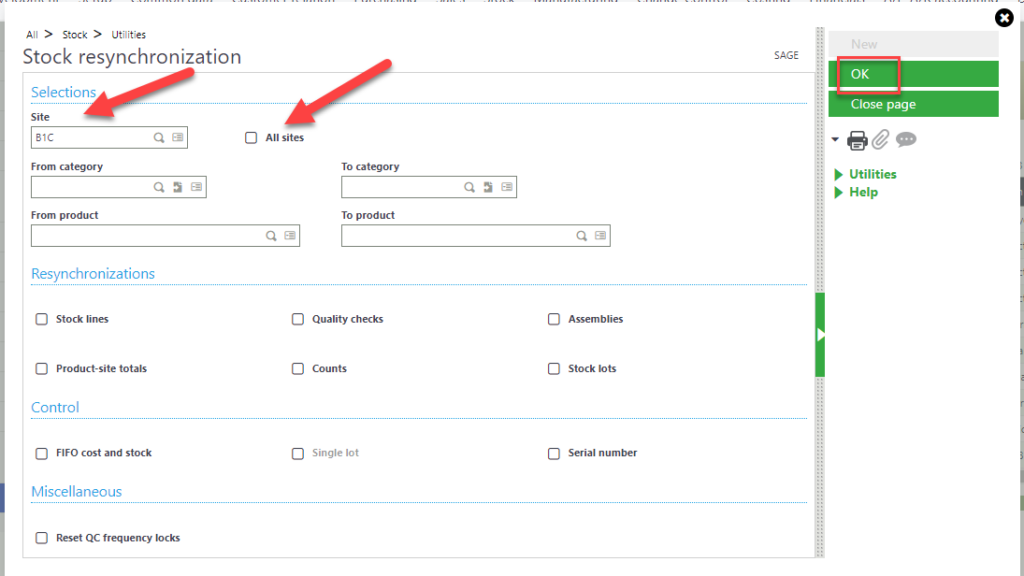
Choose a site, or click the “All sites” checkbox. Fill in a product/category or leave it blank to resync all then choose the relevant check boxes below & click “OK”

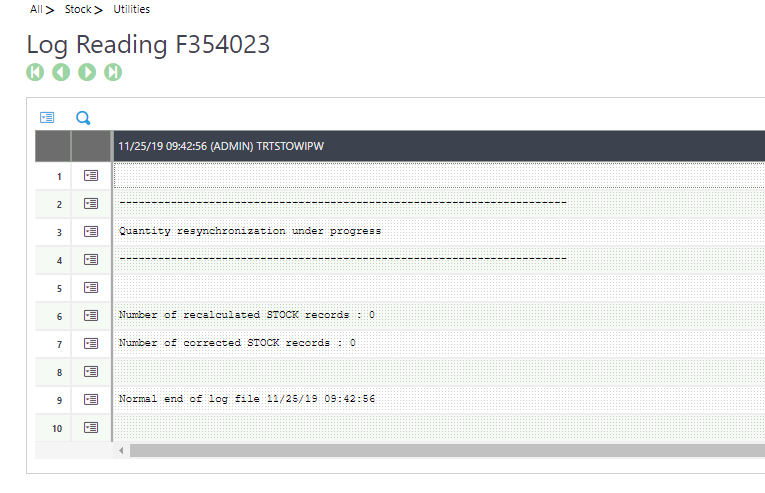
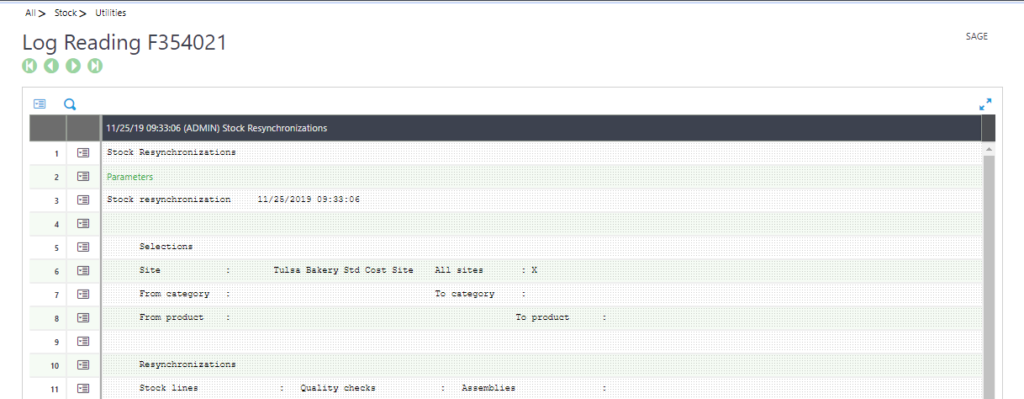
When the resync is complete, you will get a log file. At this point you can try the orginal transaction again.

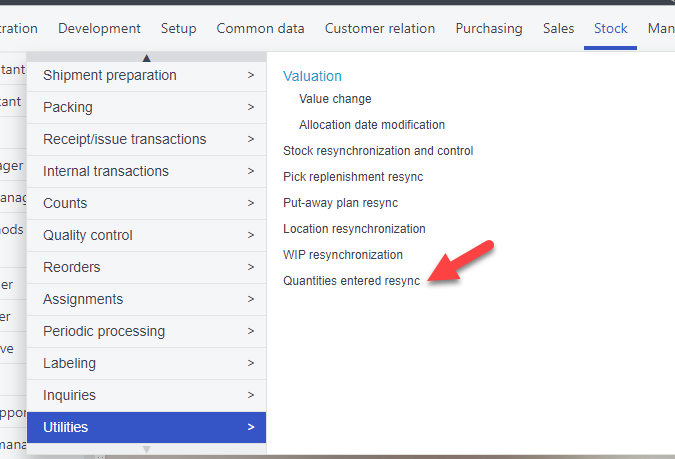
Sometimes, this is enough to put the stock back in order but if not, you may need to take an extra step. Navigate to Stock > Utilities > Quantities entered resync

The process is complete when you get a log file. If you get errors, run the quantities resync again.

How-to Series: Adding an Endpoint in X3

This is a useful how-to for when you need to add a new endpoint to X3 whether you are setting up a new system or just need a new test folder. For this how-to, images will be referencing V12, but the steps can be replicated in most versions of X3.

  1. Navigate to Administration >Administration > Endpoints > Endpoints

2. Click the “Actions” button on the right hand side of the screen. in other versions you may skip this step to go to step 3

3. choose “New endpoint” from the right hand side

4. On this page you will need to define some parameters for you folder.

  • NAME/DESCRIPTION: The name/ description will appear when it is referenced on a page in X3.
  • APPLICATION: Choose the X3 ERP application which defines the type of software the endpoint refers to.
  • SERVER PARAMETERS: Server parameters define the connection your folder has.
    • X3 SOLUTION: For ERP endpoints, choose the X3 server(in this case it has been named SAGEX3 during set up) from a list.
    • SERVER FOLDER: The server folder defines the code the endpoint is connected to which can be typed into the field.
  • GROUPS: Define groups that have access to your new folder by using the magnify glass icon.

5. when you have this page filled in click save on the right side of the screen. log out, then back in and make sure you folder is available to access.

How-to Guide Series

Hello fellow Sage users/ code writers!

This is the first in a series of “how-tos” relating to using Sage X3 or using the 4GL language to make modifications to the system. While there is a knowledge base out there with excellent information, it’s sometimes difficult to navigate or get a straightforward solution.

The first in this series will begin with a How-to turn a function into a menu item and then place it in the navigation menu to access it.

  1. Navigate to Administration > Authoring > Pages: Menu Items

2. On the right hand menu, select “Create menu item”

3. Fill in the required fields and hit save. Do not assign the menu item to a specific endpoint

4. Now that you have a menu item, we can add it to the navigation menu. To do this, navigate to Administration > Authoring > Pages: Navigation pages

5. Choose “home”

6. Choose “Edit page content” from the right hand menu

7. Choose the module and submodule to place your menu item

8. Click the “Select menu item” under the Menu title

9. Search for the menu item you created, select it, then press the blue check in the upper right corner. The menu item should now be listed under the Menu title

10. Navigate back to the home page and then navigate to your menu item location. Sometimes you have to complete a couple extra steps if it doesn’t appear on the navigation menu.

11. Navigate to Development > Utilities > Dictionary > Validations: Site Function Profiles

12. A verification message will pop up warning that the process might take time to compete. Click yes to continue.

13. When this function has finished, log out of X3 and back in, Navigate to your menu item.