
This is a useful how-to for when you need to add a new endpoint to X3 whether you are setting up a new system or just need a new test folder. For this how-to, images will be referencing V12, but the steps can be replicated in most versions of X3.
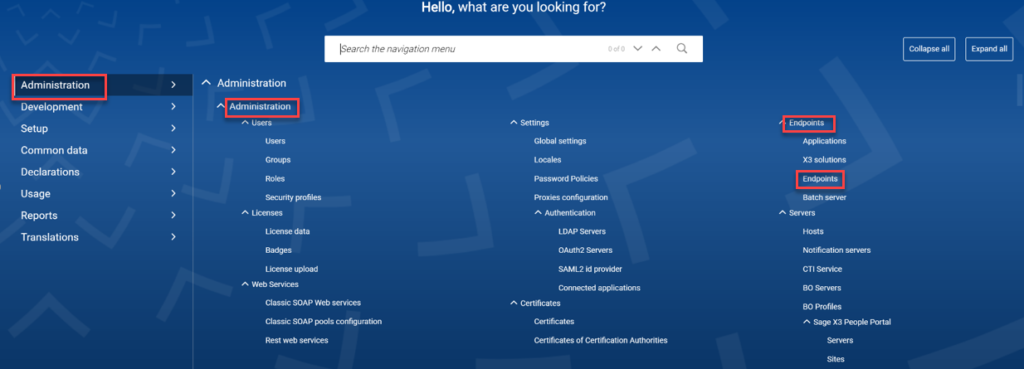
- Navigate to Administration >Administration > Endpoints > Endpoints
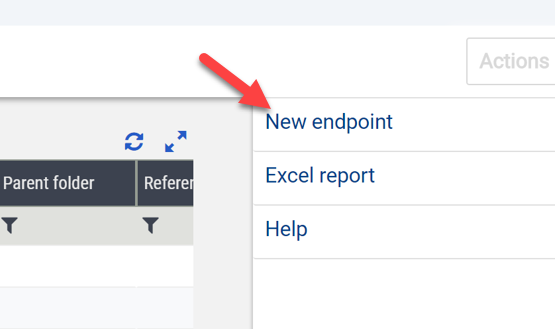
2. Click the “Actions” button on the right hand side of the screen. in other versions you may skip this step to go to step 3

3. choose “New endpoint” from the right hand side
4. On this page you will need to define some parameters for you folder.
- NAME/DESCRIPTION: The name/ description will appear when it is referenced on a page in X3.
- APPLICATION: Choose the X3 ERP application which defines the type of software the endpoint refers to.
- SERVER PARAMETERS: Server parameters define the connection your folder has.
- X3 SOLUTION: For ERP endpoints, choose the X3 server(in this case it has been named SAGEX3 during set up) from a list.
- SERVER FOLDER: The server folder defines the code the endpoint is connected to which can be typed into the field.
- GROUPS: Define groups that have access to your new folder by using the magnify glass icon.

5. when you have this page filled in click save on the right side of the screen. log out, then back in and make sure you folder is available to access.